Installation & Maintenance
How to Remove a Taper Lock Bushing Without Damaging the Hub
Installation & Maintenance
Removal is not the reverse of installation in the sense of simply pulling harder. Taper-lock systems are designed with specific threaded positions that let the screws act as jacks and separate the tapered surfaces. Using the wrong puller or levering against the hub can damage the component you were trying to save.
Before touching the connection, isolate the machine, support any heavy sheave or sprocket, and identify the bushing model. Large assemblies can release suddenly when the taper breaks free, so the work area and lifting method matter as much as the hand tools.
Understanding the taper-lock release mechanism
During installation, axial screw force draws the tapered surfaces together and creates radial grip on the shaft. During removal, the designated jack-screw positions reverse that action. The screws push against the mating component until the taper releases; once the grip is broken, the bushing and hub can be moved without prying the taper faces apart.
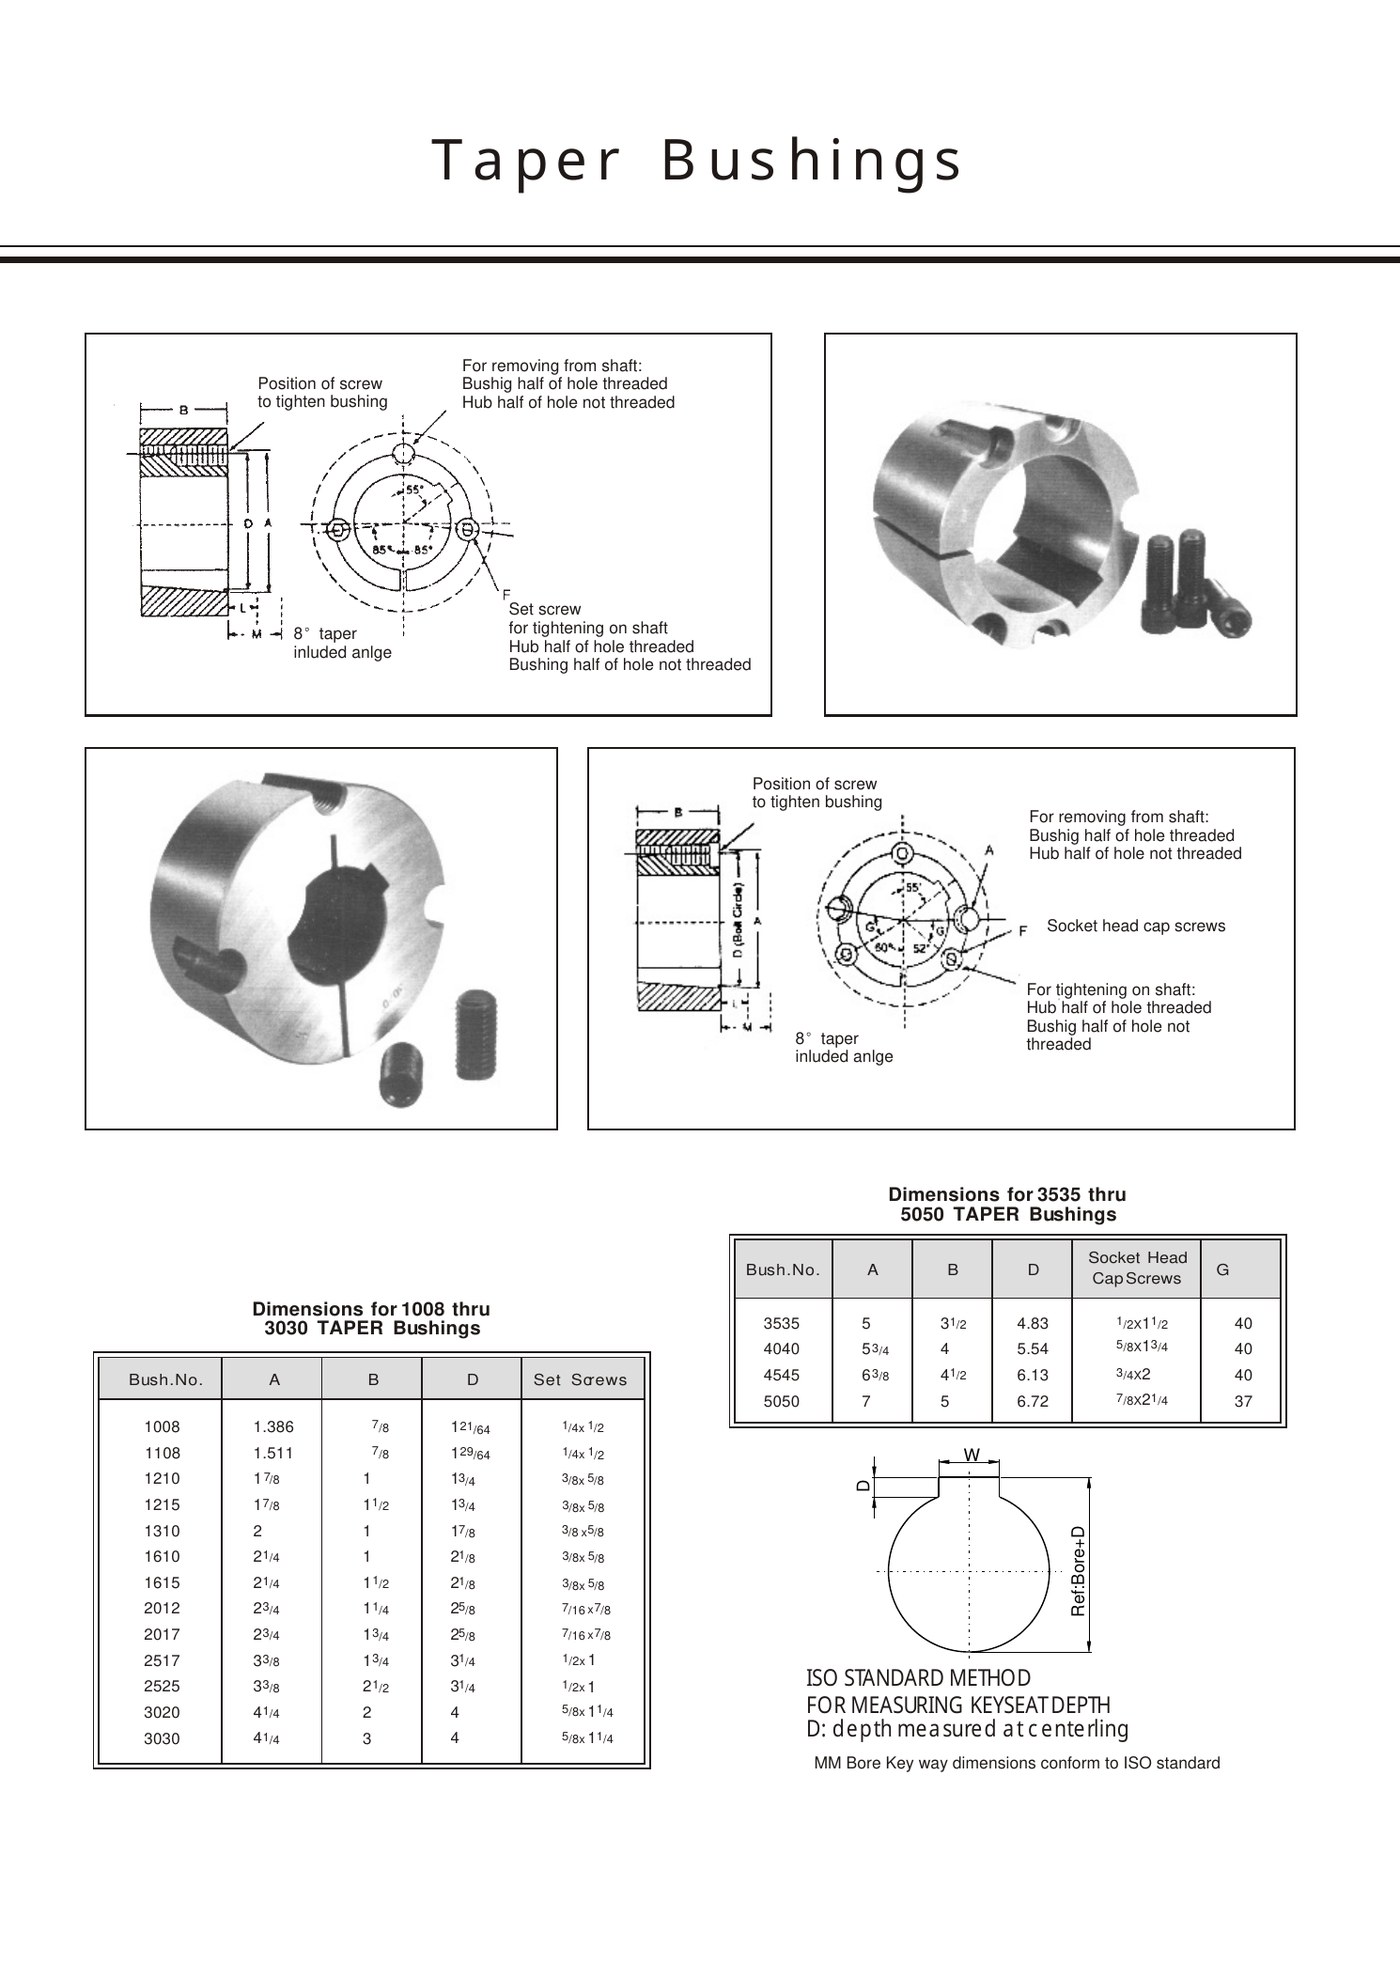
Preparation before removal
- De-energize, isolate and lock out the drive according to the machine safety procedure.
- Support the pulley, sprocket or hub if its weight can load the shaft or drop when released.
- Clean exposed threads and locate the tightening and removal holes for the exact bushing.
- Use the correct screws; replace visibly damaged fasteners rather than forcing them into the jack holes.
Step-by-step removal process
| Step | Action | Check |
|---|---|---|
| 1 | Loosen and remove the screws from the tightening positions. | Make sure all clamping force is released. |
| 2 | Move the specified screws into the threaded removal/jack positions. | Confirm the drawing for the exact family. |
| 3 | Tighten the jack screws evenly, a little at a time. | Keep the separation square; do not cock the bushing. |
| 4 | Continue until the taper breaks free. | Be prepared for a sudden release on a loaded or corroded joint. |
| 5 | Slide the assembly from the shaft using appropriate support. | Protect the shaft and key from impact damage. |
What to do when the bushing is seized
Corrosion, fretting debris or long service can make a released screw arrangement feel immovable. First confirm that the screws are actually in the correct removal holes. Clean the exposed joint and allow any maintenance-approved penetrating product to reach corroded external areas without contaminating surfaces that must remain dry for the installation method.
Avoid escalating immediately to a steel hammer, torch or uncontrolled puller. Heat can affect paint, seals and nearby components, while impact can bruise the shaft or hub. If gentle tapping or approved thermal methods are used, follow the equipment service procedure and protect bearings, seals and heat-sensitive parts.
Post-removal inspection
Once the joint is apart, inspect the taper surfaces for galling, scoring or fretting. Check the shaft for wear steps and measure the keyway if the key shows deformation. A damaged hub bore can make a new bushing behave badly, so replacement decisions should cover both halves of the connection.
A reusable bushing should have sound threads, undamaged taper and keyway geometry, and no crack or permanent distortion. When in doubt, record the model, bore, keyway and mating-component dimensions and replace the uncertain part rather than forcing it back into service.
Frequently asked questions
Why does a normal three-jaw puller sometimes fail?
The taper is intended to be released through its designated jack-screw arrangement. Pulling the hub without breaking the taper can increase damage risk.
Can the same screws be used for removal?
Many designs use the supplied screws in alternate threaded positions, but confirm the drawing and instructions for the exact bushing before moving them.
Related products and resources
Need help with a real application?
Send the model, shaft diameter, keyway or drawing so the enquiry can be checked against the correct bushing family.